 自学教程
自学教程Java Servlet 可以与 HTML form 标签一起使用,允许用户上传文件到服务器
上传的文件可以是文本文件或图像文件或任何文档
注意: Servlet 3 已经内置了文件上传这一特性,开发者不再需要将 Commons FileUpload 组件导入到工程中去
创建一个文件上传表单
下面的 HTML 代码创建了一个文件上传表单。以下几点需要注意:
- 表单 method 属性应该设置为 POST 方法,不能使用 GET 方法。
- 表单 enctype 属性应该设置为 multipart/form-data.
- 表单 action 属性应该设置为在后端服务器上处理文件上传的 Servlet 文件。下面的实例使用了 UploadServlet Servlet 来上传文件。
- 上传单个文件,您应该使用单个带有属性 type="file" 的 <input .../> 标签。为了允许多个文件上传,请包含多个 name 属性值不同的 input 标签。输入标签具有不同的名称属性的值。浏览器会为每个 input 标签关联一个浏览按钮。
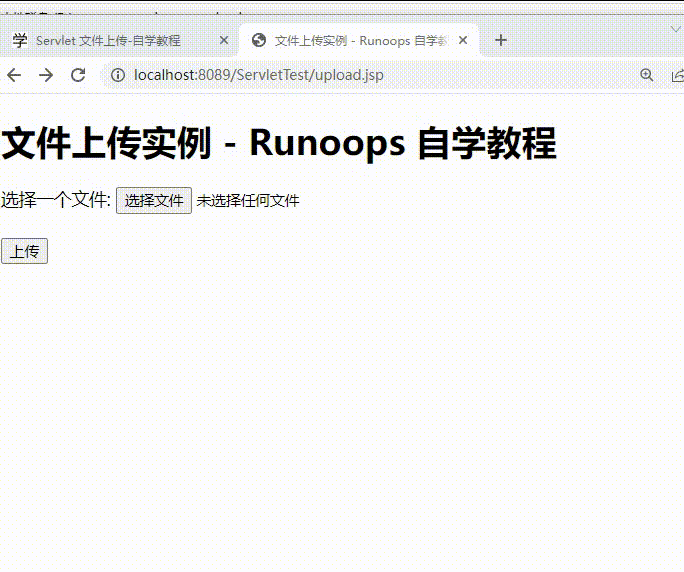
upload.jsp 文件代码如下:
实例
<%@ page language="java" contentType="text/html; charset=UTF-8"
    pageEncoding="UTF-8"%>
<!DOCTYPE html>
<html>
<head>
<meta charset="utf-8">
<title>文件上传实例 - Runoops 自学教程 </title>
</head>
<body>
<h1>文件上传实例 -  Runoops 自学教程</h1>
<form method="post" action="UploadServlet" enctype="multipart/form-data">
    选择一个文件:
    <input type="file" name="uploadFile" />
    <br/><br/>
    <input type="submit" value="上传" />
</form>
</body>
</html>
编写后台 Servlet
以下是 Servlet UploadServlet,会接受上传的文件,并把它储存在目录 <Tomcat-installation-directory>/webapps/data 中。这个目录名也可以使用外部配置来添加,比如 web.xml 中的 context-param 元素,如下所示:
实例
<web-app>
....
<context-param>
    <description>Location to store uploaded file</description>
    <param-name>file-upload</param-name>
    <param-value>
         D:\WWW\data\
     </param-value>
</context-param>
....
</web-app>
UploadServlet 的源代码 如下所示:
实例
package com.runoops.test;

import java.io.*;
import javax.servlet.*;
import javax.servlet.http.*;
import java.sql.*;
import javax.servlet.annotation.WebServlet;
import javax.servlet.annotation.MultipartConfig;
import java.util.List;

//@WebServlet(name = "UploadServlet", urlPatterns = {"/UploadServlet"})
//使用注解 @MultipartConfig 将一个 Servlet 标识为支持文件上传
//标识Servlet支持文件上传
@MultipartConfig(location="upload",maxFileSize = 1024*1024*20)
public class UploadServlet extends HttpServlet
{

    public static final String UPLOAD_DIRECTORY = "upload";
    private static final long serialVersionUID = 1L;

    private static MultipartConfig config
        = UploadServlet.class.getAnnotation(MultipartConfig.class);

    public void doPost(HttpServletRequest request,
            HttpServletResponse response) throws ServletException, IOException
    {
        request.setCharacterEncoding("UTF-8");
        Part part = null;

        try{
            part = request.getPart("uploadFile");//获取 part 用于处理上传的文件
        }catch(IllegalStateException ise)
        {
        //上传的单个文件超出 maxFileSize 或者上传的总的数据量超出 maxRequestSize 时会抛出此异常

            //如果注解中没设置此项,那就是单个文件超出限制
            if(config.maxRequestSize() == -1L)
                request.setAttribute("message","错误信息: 单个文件超限");
            else if(config.maxFileSize() == -1L)
                //如果注解中没有设置单个文件最大限制,那就是总数据量超限。
                request.setAttribute("message","错误信息: 总数据量超限");
            else
                request.setAttribute("message","错误信息: Error");


            // 跳转到 message.jsp
            request.getServletContext().getRequestDispatcher("/message.jsp").forward(
                request, response);
        }

        if(part == null)
            return;

        //获得上传的文件名,没有判断用户没有选择文件直接提交的情况
        //没有判断上传文件失败的情况
        String fileName = part.getSubmittedFileName();
        String message = "";

        message += "<p>contentType : " + part.getContentType() + "</p>";
        message += "<p>fileName : " + fileName + "</p>";
        message += "<p>fileSize : " + part.getSize() + "</p>";
        message += "<p>header names :<br/>";
        for(String headerName : part.getHeaderNames())
            message += headerName + " : " + part.getHeader(headerName) + "<br/>";

        message += "</p>";

        //为了避免文件重名,将时间组合到了文件名中。实际项目中可以考虑使用用户主键或者生成一个唯一的ID来组合文件名。
        String saveName = System.currentTimeMillis() + "_" + fileName;

        // 构造临时路径来存储上传的文件
        // 这个路径相对当前应用的目录
//        String uploadPath = request.getServletContext().getRealPath("./") + File.separator + UPLOAD_DIRECTORY;
//        String uploadPath = "D:/www/data"  + File.separator + UPLOAD_DIRECTORY;
        String uploadPath = getServletContext().getInitParameter("file-upload") + UPLOAD_DIRECTORY;

        // 如果目录不存在则创建
        File uploadDir = new File(uploadPath);
        if (!uploadDir.exists()) {
            uploadDir.mkdir();
        }


        String fullPath = uploadPath + File.separator + saveName;

        //part.write(fullPath);
        //将上传的文件保存到磁盘,默认是注解中location的相对地址,也可以传入一个绝对路径

        InputStream in = part.getInputStream();
        OutputStream out = new FileOutputStream(fullPath);
        byte[] buffer = new byte[1024];
        int length = -1;
        while ((length = in.read(buffer)) != -1) {
            out.write(buffer, 0, length);
        }
        in.close();
        out.close();

        System.out.println(fullPath);

        message += "<p>文件上传成功!</p>";

        request.setAttribute("message",message);
        // 跳转到 message.jsp
        request.getServletContext().getRequestDispatcher("/message.jsp").forward(
                request, response);
    }
}
message.jsp 文件代码如下:
实例
<%@ page language="java" contentType="text/html; charset=UTF-8"
    pageEncoding="UTF-8"%>
<!DOCTYPE html>
<html>
<head>
<meta charset="utf-8">
<title>文件上传结果 - Runoops 自学教程 </title>
</head>
<body>
    <center>
        <h2>${message}</h2>
    </center>
</body>
</html>
web.xml配置
在 web.xml 文件中创建所需的条目,如下所示:
实例
<?xml version="1.0" encoding="UTF-8"?>
<web-app version="2.5" xmlns="http://java.sun.com/xml/ns/javaee"
	xmlns:xsi="http://www.w3.org/2001/XMLSchema-instance"
	xsi:schemaLocation="http://JAVA.sun.com/xml/ns/javaee
    http://java.sun.com/xml/ns/javaee/web-app_2_5.xsd">

	<context-param>
		<description>Location to store uploaded file</description>
		<param-name>file-upload</param-name>
		<param-value>
			D:\WWW\data\
		</param-value>
	</context-param>

	<servlet>
		<display-name>UploadServlet</display-name>
		<servlet-name>UploadServlet</servlet-name>
		<servlet-class>com.runoops.test.UploadServlet</servlet-class>
	</servlet>

	<servlet-mapping>
		<servlet-name>UploadServlet</servlet-name>
		<url-pattern>/UploadServlet</url-pattern>
	</servlet-mapping>

</web-app>
现在尝试使用您在上面创建的 HTML 表单来上传文件。当您在浏览器中访问: http://localhost:8089/ServletTest/upload.jsp,演示如下所示: